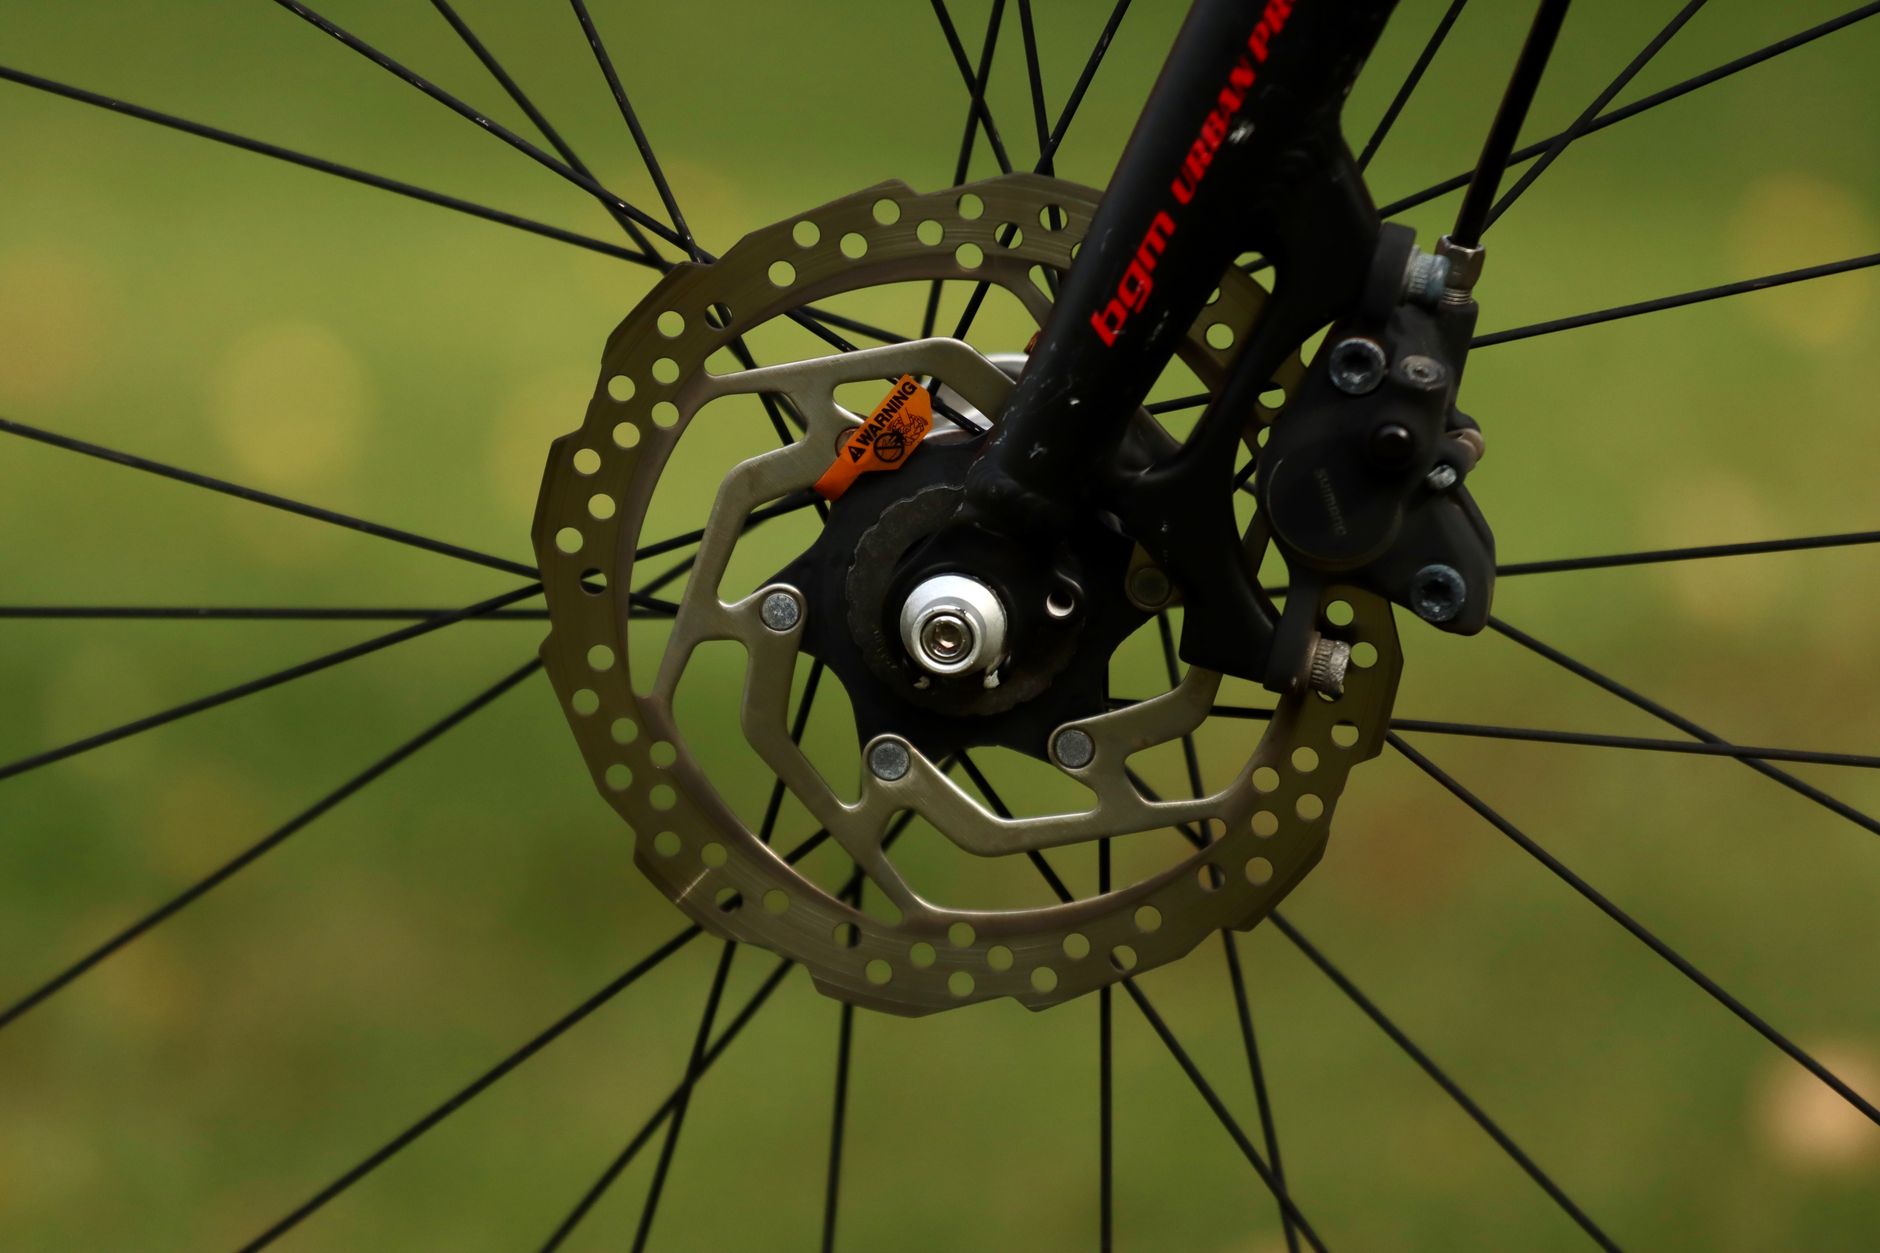
Why bleed your Shimano brakes?
Over time, tiny air bubbles work their way into the hydraulic circuit of your brakes. The result: the lever feels spongy, the contact point moves back, and your braking power drops. On a mountain bike descending or a loaded gravel bike, that is a genuine safety issue.
The golden rule: bleed at least every 12 months, or sooner if you notice a change at the lever.
Essential tools
Before you start, make sure you have everything at hand:
- Shimano syringe TL-BT03 (or TL-BT03-S for the short version) — this is the official tool, and it makes a real difference
- Shimano mineral oil — the green bottle, never anything else
- 2.5 mm Allen key for the bleed port screw on the lever
- 7 mm open-end spanner for the calliper fitting
- Clean rag and isopropyl alcohol to wipe up spills
- A drip tray — mineral oil attacks paint
Warning: Shimano uses exclusively mineral oil. If you put DOT fluid (DOT 4 or DOT 5.1) into a Shimano system, you will destroy the internal seals. It is irreversible and means replacing both the lever and the calliper.
The 6 steps to bleeding
Step 1 — Prepare the bike. Mount the bike on a workstand. Position the lever horizontally so the bleed port is the highest point in the circuit. Remove the wheel.
Step 2 — Open the lever reservoir. Remove the bleed port screw with the 2.5 mm Allen key. You will see the small reservoir and the rubber diaphragm. Remove the diaphragm.
Step 3 — Connect the syringe to the calliper. Fill the TL-BT03 syringe with fresh mineral oil (no bubbles). Connect it to the bleed fitting on the calliper with the 7 mm spanner. Open the fitting a quarter turn.
Step 4 — Push the fluid. Slowly push fluid from the calliper up to the lever. You will see air bubbles rising into the lever reservoir. Continue until the fluid coming out is perfectly clear, with no bubbles at all.
Step 5 — Cycle the lever. Squeeze the brake lever several times to dislodge trapped bubbles. If you still see bubbles coming out into the reservoir, push more fluid from the calliper. Repeat until the lever feels firm.
Step 6 — Close up. Close the calliper fitting. Replace the diaphragm in the lever reservoir. Screw the bleed port back in. Wipe all fluid residue with a clean rag.