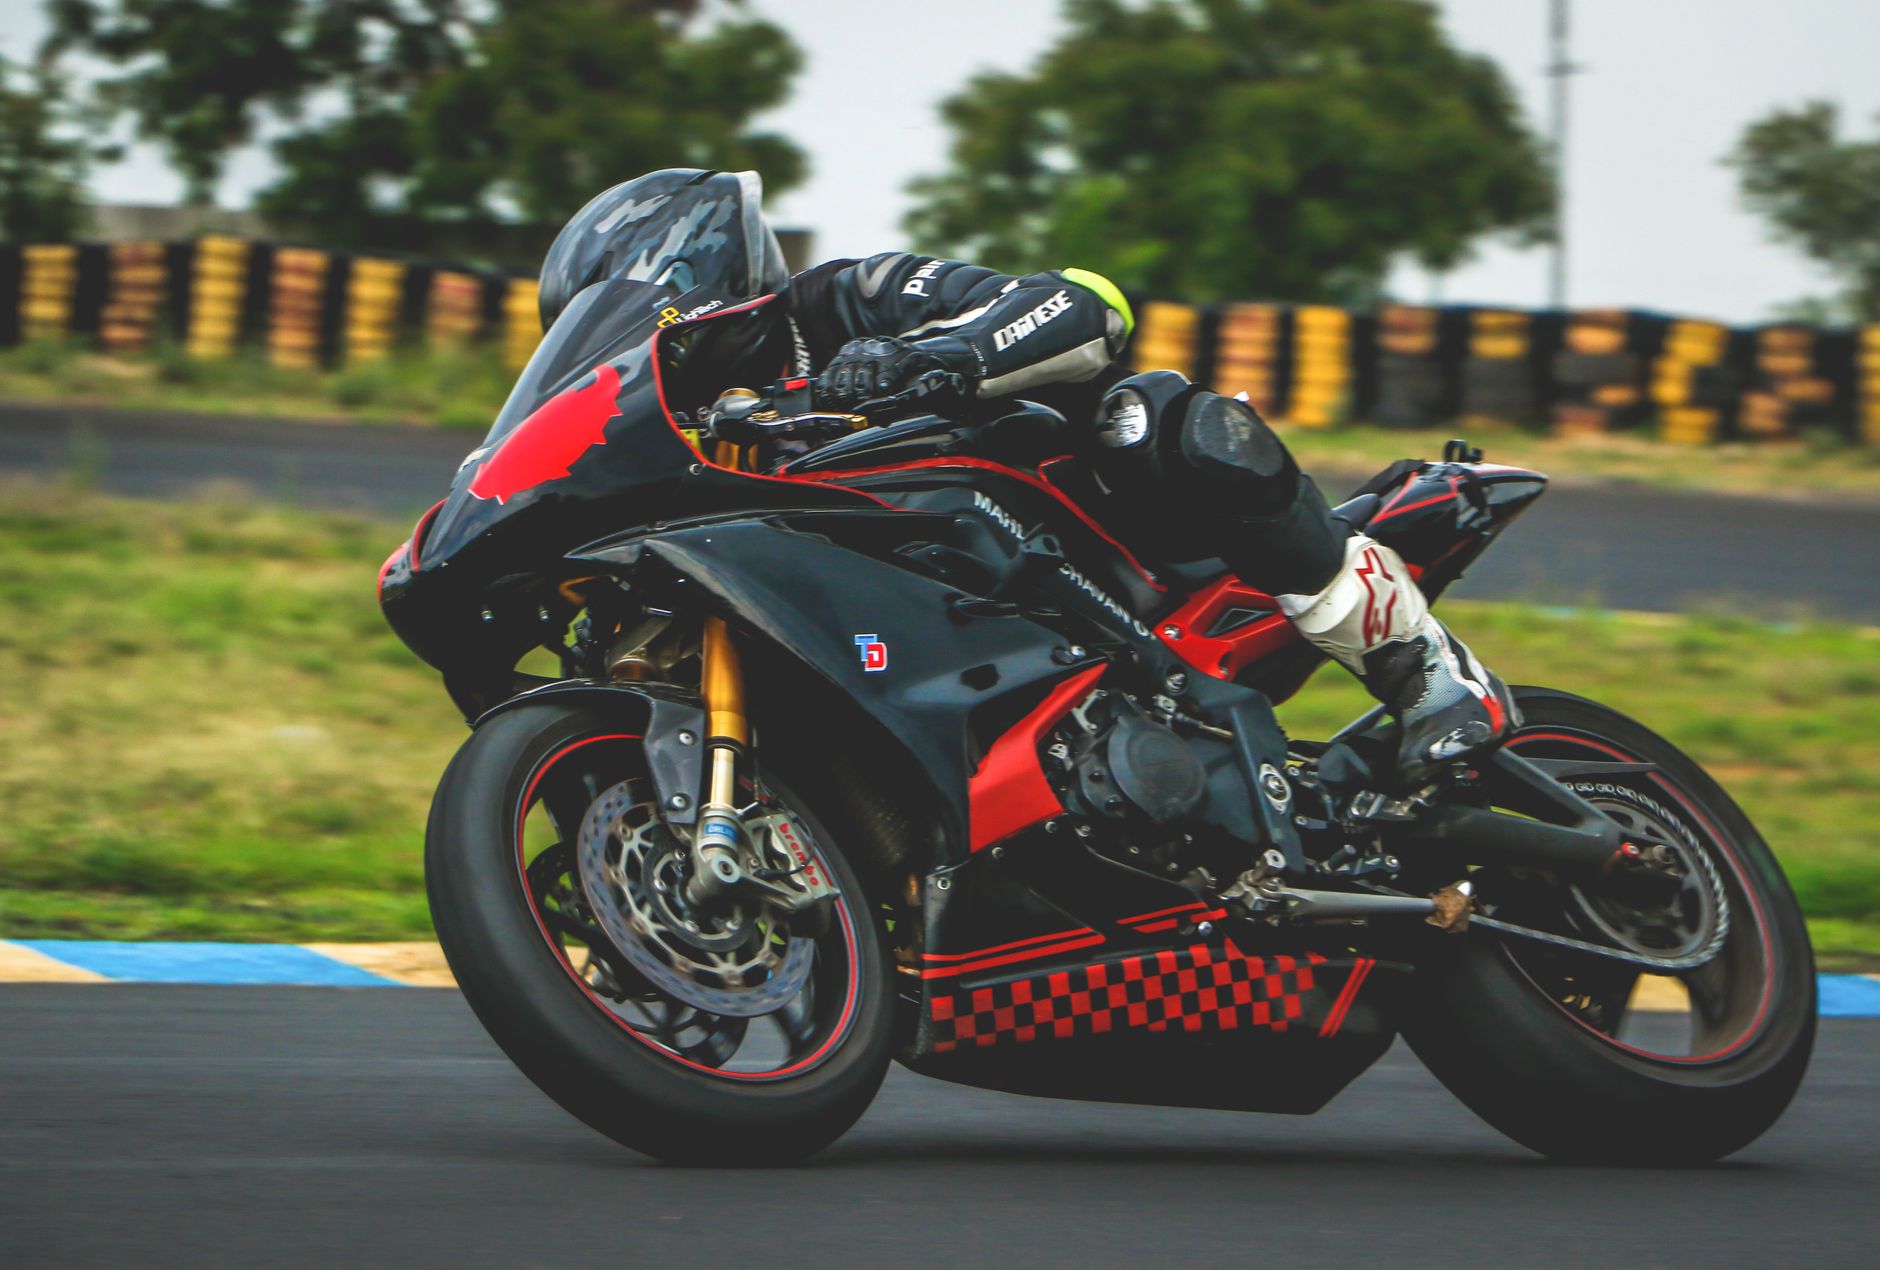
You're off for a week, two-up, with two panniers and a top box. The bike is the same one as yesterday and it rides the same for the first ten kilometres. Then comes the first hard stop, the first tight roundabout, the first mountain descent: the bike dives faster, picks up more reluctantly, and the rear tyre makes a working-rubber noise you've never heard from it.
The bike hasn't changed, the mass has. Going from 100 kg on board to 190 kg means adding close to half the weight of the machine again, and putting nearly all of it high up and at the back. Factory settings are calculated for a solo rider of average build: two-up and loaded, they are outside the intended range. Bringing everything back into line takes an hour and costs nothing.
Start with the payload — it's written on the bike
Payload is the maximum authorised weight minus the kerb weight. It's on the manufacturer's plate, often on the frame near the headstock, and in the handbook. Nobody reads it, and that's a mistake: it covers rider, pillion, the kit you're wearing, luggage and any accessories you've added.
Do the sum honestly. An 85 kg rider in full kit makes 90. A 65 kg pillion in kit makes 72. Two panniers and a top box packed for a week, that's 25 to 35 kg. Total: 190 to 200 kg. Add a luggage rack, a screen and a set of soft bags and you're over what a lot of machines will accept.
| Segment | Kerb weight | Typical payload |
|---|---|---|
| 650 to 900 roadster | 190 to 215 kg | 175 to 200 kg |
| 800 to 1200 road-biased adventure | 220 to 260 kg | 190 to 215 kg |
| Tourer and GT | 280 to 380 kg | 190 to 220 kg |
| 400 to 700 cruiser or light trail | 160 to 200 kg | 150 to 180 kg |
These are segment ballparks, not your bike's figure: yours is on the plate. Going over isn't just an administrative matter — payload also governs the load indices of your tyres and how the suspension copes.
Pack low and near the centre, not high and at the back
At equal mass, two loading patterns don't behave the same. Ten kilos in the bottom of side panniers, at wheel-spindle height, are barely felt. The same ten kilos in a top box, 50 to 60 cm behind the rear spindle and 40 cm higher, make the bike lazy turning in and, above all, sensitive to weave — that slow wallow of the back end that shows up around 120 or 130 km/h and simply didn't exist unladen.
- Heavy items low and ahead of the rear spindle: tools, lock, liquids, shoes. Bottom of the panniers, never the top box.
- Bulky and light up high: spare helmets, waterproofs, sleeping bag. That's what a top box is for.
- Balance left and right to within 2 kg. One side carrying 5 kg more shows up in slow corners and wears you down by the end of a long day.
- Nothing heavy in front of the bars. A loaded tank bag degrades the steering faster than anything else.
Most top boxes on the market are rated between 3 and 10 kg, a figure marked on the mounting plate or in the instructions, and that limit belongs to the mount, not the lid. The trade-offs between luggage types are covered in our guide to choosing hard luggage.
Rear preload: the one adjustment that really is compulsory
Preload doesn't change spring rate, it changes where the bike sits in its suspension travel. Without adjustment, a loaded machine ends up squatting: it has used half its travel before it has even moved, it bottoms out on sharp ridges, and its geometry has changed — so its stability has too.
The method needs two people and three measurements. Free length: bike on a paddock stand, rear wheel off the ground, measure from the rear spindle to a fixed point on the bodywork. Static sag: bike on its wheels, nobody aboard, same measurement — the difference gives the compression caused by the machine's own weight alone. Laden sag: rider, pillion and luggage all aboard, feet on the pegs, someone holding the bike upright.
For road use, the usual target for laden sag is on the order of 30 to 35 per cent of rear wheel travel, with the exact figure in the handbook. Adjust, then measure again: a click of preload can't be judged by feel. If you're on the stop and still sitting too low, that's no longer an adjustment problem — it's an under-rated spring or a shock at the end of its life. The full method, front included, is in the article on setting suspension preload.
Rebound next, and only next
Once preload is right, the bike sits at the correct height but the shock has more energy to dissipate. The classic two-up symptom: after a speed bump, the back end comes up and bounces a second time. That's a lack of rebound damping, the brake on the spring's return.
Wind on two or three clicks of rear rebound from your solo setting, ride, and judge it on a sharp ridge at a steady speed. The right setting lets the wheel return quickly but without a secondary bounce. Too much rebound and the suspension packs down over broken surfaces: the bike goes hard and loses grip. Only touch compression if you're still bottoming out with correct preload.