Summer breakdowns don't begin in summer. The chain that skips halfway up a climb, the spoke that lets go at 40 km/h on a descent, the brake lever that touches the bar after three hours: all of it was already readable in April, on a bike sitting on a workstand, provided you looked in the right place. Winter has done its work — salt, road spray, damp trapped in the cable outers, grease washed out, months of standing still — and spring is the only moment when putting it right still costs a few tens of pounds.
Two hours is enough, with ordinary tools. What matters is the order: start with what can be measured, finish with what can be adjusted. And work to thresholds, not impressions. "It looks alright" is not a drivetrain diagnosis.
1. The drivetrain, measured rather than guessed
This comes first, because it is the only item where waiting costs money in a cascade. A worn chain isn't dangerous, it's ruinous: it eats into the cassette and the chainrings, and the day you finally replace it, the new drivetrain skips on sprockets that have become incompatible.
The measurement is made with a chain wear gauge, a £10 to £20 tool that pays for itself the first time you use it. The widely accepted thresholds:
- 0.5% elongation for 11 and 12-speed drivetrains, whose sprockets are thinner and less forgiving.
- 0.75% for 8, 9 and 10-speed drivetrains, which tolerate more.
- Beyond 1%, the cassette almost always has to go as well.
Ballpark service life: 2000 to 4000 km on the road with regular maintenance, 1000 to 2500 km on a mountain bike or through a muddy winter, less again on an e-bike, where motor torque clearly accelerates wear. A cassette will generally take two to three chains if you swap them at the right moment. The full method is set out in our article on when to replace a bike chain.
While things are apart, check the jockey wheels (side play, pointed teeth), the derailleur hanger (two millimetres of bend is enough to make shifting temperamental) and the state of the chainring teeth.
2. The brakes, before they cost you a rotor
Braking is the only area where falling behind is paid for in safety and in parts.
On disc brakes, three checks:
- Pad material thickness. A new pad usually offers 1.5 to 2 mm of friction material above the backing plate. Replace below 0.5 mm, without waiting for the noise — the noise is already the backing plate shaving the rotor. Our visual reference point is described in the article on bike brake pad wear.
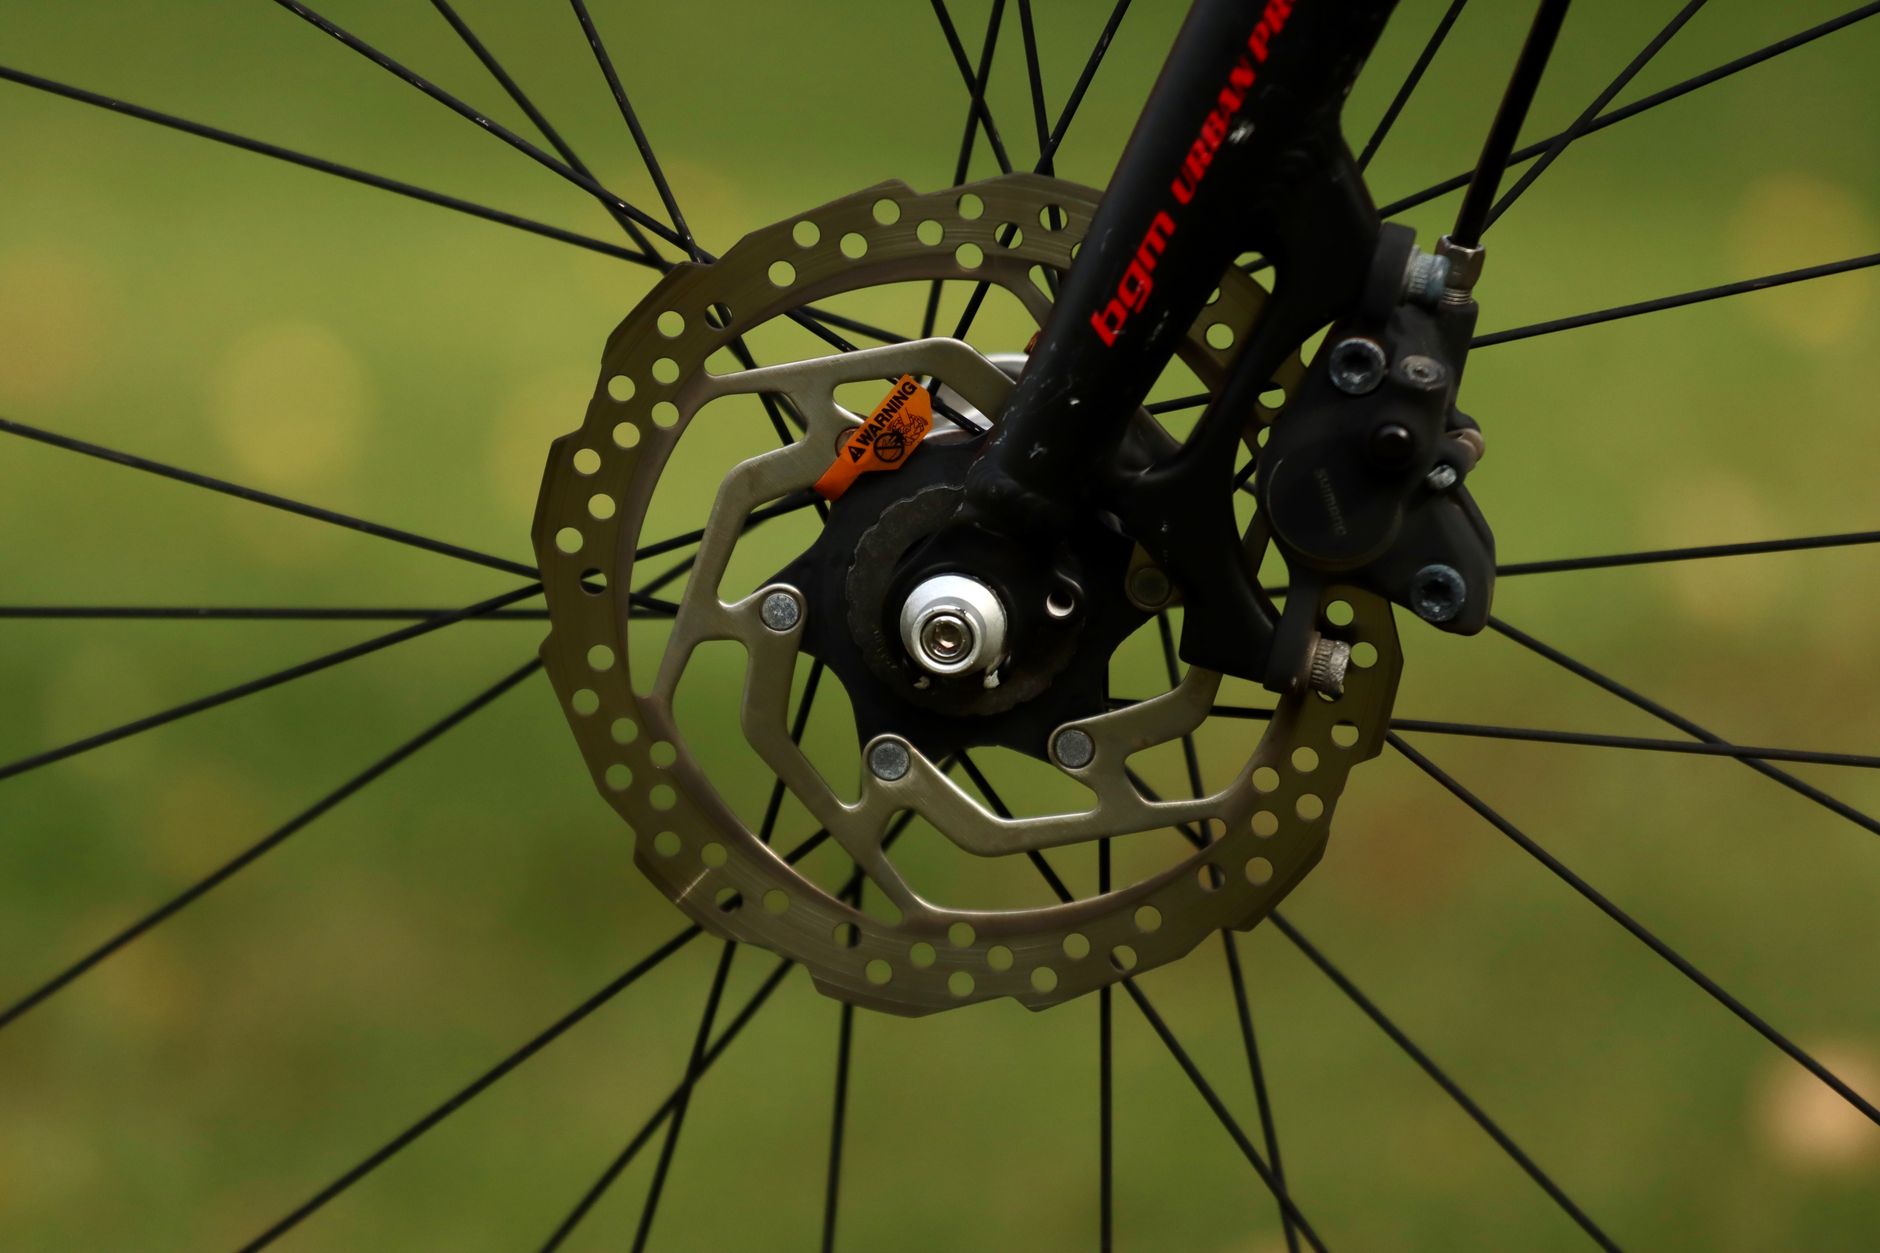
- Rotor thickness. A new rotor is commonly 1.8 mm. The minimum figure is engraved on the rotor itself, generally 1.5 mm. Below that it overheats, it warps, it cracks.
- Condition of the fluid. A spongy lever, a lever throw that grows on a descent, a bite point that moves: that is air or aged fluid. A bleed every 12 to 24 months is normal, depending on use. Careful: mineral oil and DOT must never be mixed, and getting it wrong destroys the seals within days.
On rim brakes: the wear marks on the blocks, but above all the braking surface of the rim. A rim that is dished, concave to the touch, or whose wear indicator has vanished, has to be replaced. It is the check everybody skips, and it is the one that causes a sidewall blowout on a descent.
3. Wheels, spokes, pressure
A spoke that breaks in summer was almost always a spoke that was already slack in April. The check takes two minutes per wheel: squeeze the spokes in pairs, all the way round. They should all ring at roughly the same pitch. A spoke noticeably softer than its neighbours signals lost tension, a crack starting at the elbow or a seized nipple.
Two reference points: on a rear wheel, tension on the drive side is normally much higher than on the opposite side. And more than a millimetre of lateral wobble deserves a session in a truing stand.
For the tyres: look for sidewall cuts, cracking rubber, foreign objects lodged in the tread. A tyre more than five years old whose rubber has hardened grips poorly, even with tread left. Reinflate to the target pressure, which depends on section, total weight and terrain: roughly 4.5 to 5.5 bar for a 28 mm road tyre, 2.2 to 2.8 bar for a 40 mm gravel tyre, 1.5 to 1.9 bar for tubeless mountain bike use depending on section. The limit values are marked on the tyre sidewall and they take precedence.
4. Bearing play: headset, bottom bracket, hubs
The test is the same everywhere: hold it still, try to move it, listen.
- Headset: front brake on, push the bike back and forth. A dull knock in the headset is felt through a hand resting on the top cap. Ignored play marks the races within a few hundred kilometres.
- Bottom bracket: cranks horizontal, pull sideways. No play should appear. A creak under power comes more often from a dry interface than from a dead bearing.
- Hubs: wheel out, turn the axle by hand. It should turn without a tight spot or a gritty feel.
And while you're there, a pass with the torque wrench on the sensitive fasteners. The usual ballpark figures are around 5 to 6 Nm for a stem and 5 to 8 Nm for a seatpost clamp, but the value engraved on the part always wins, especially with carbon.