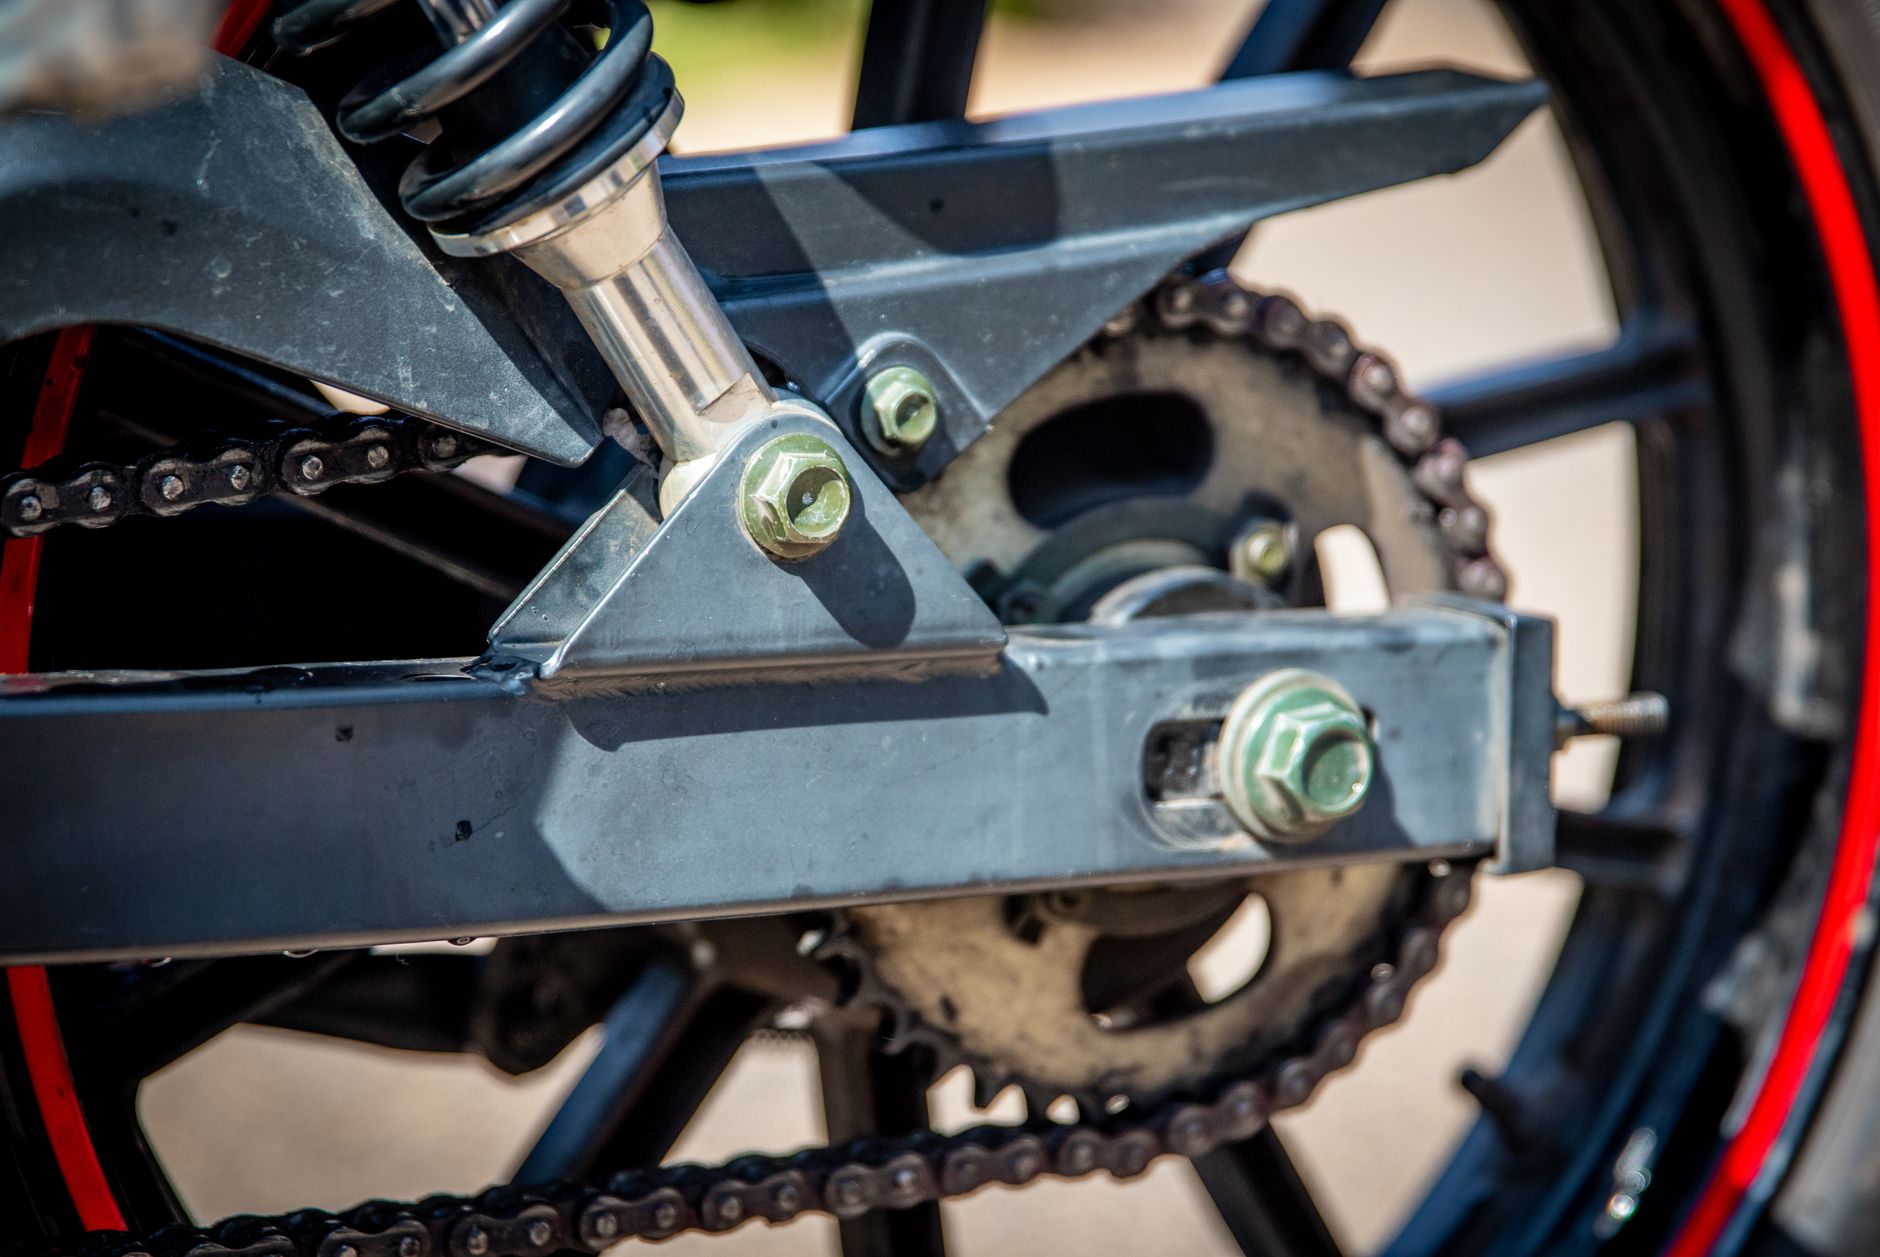
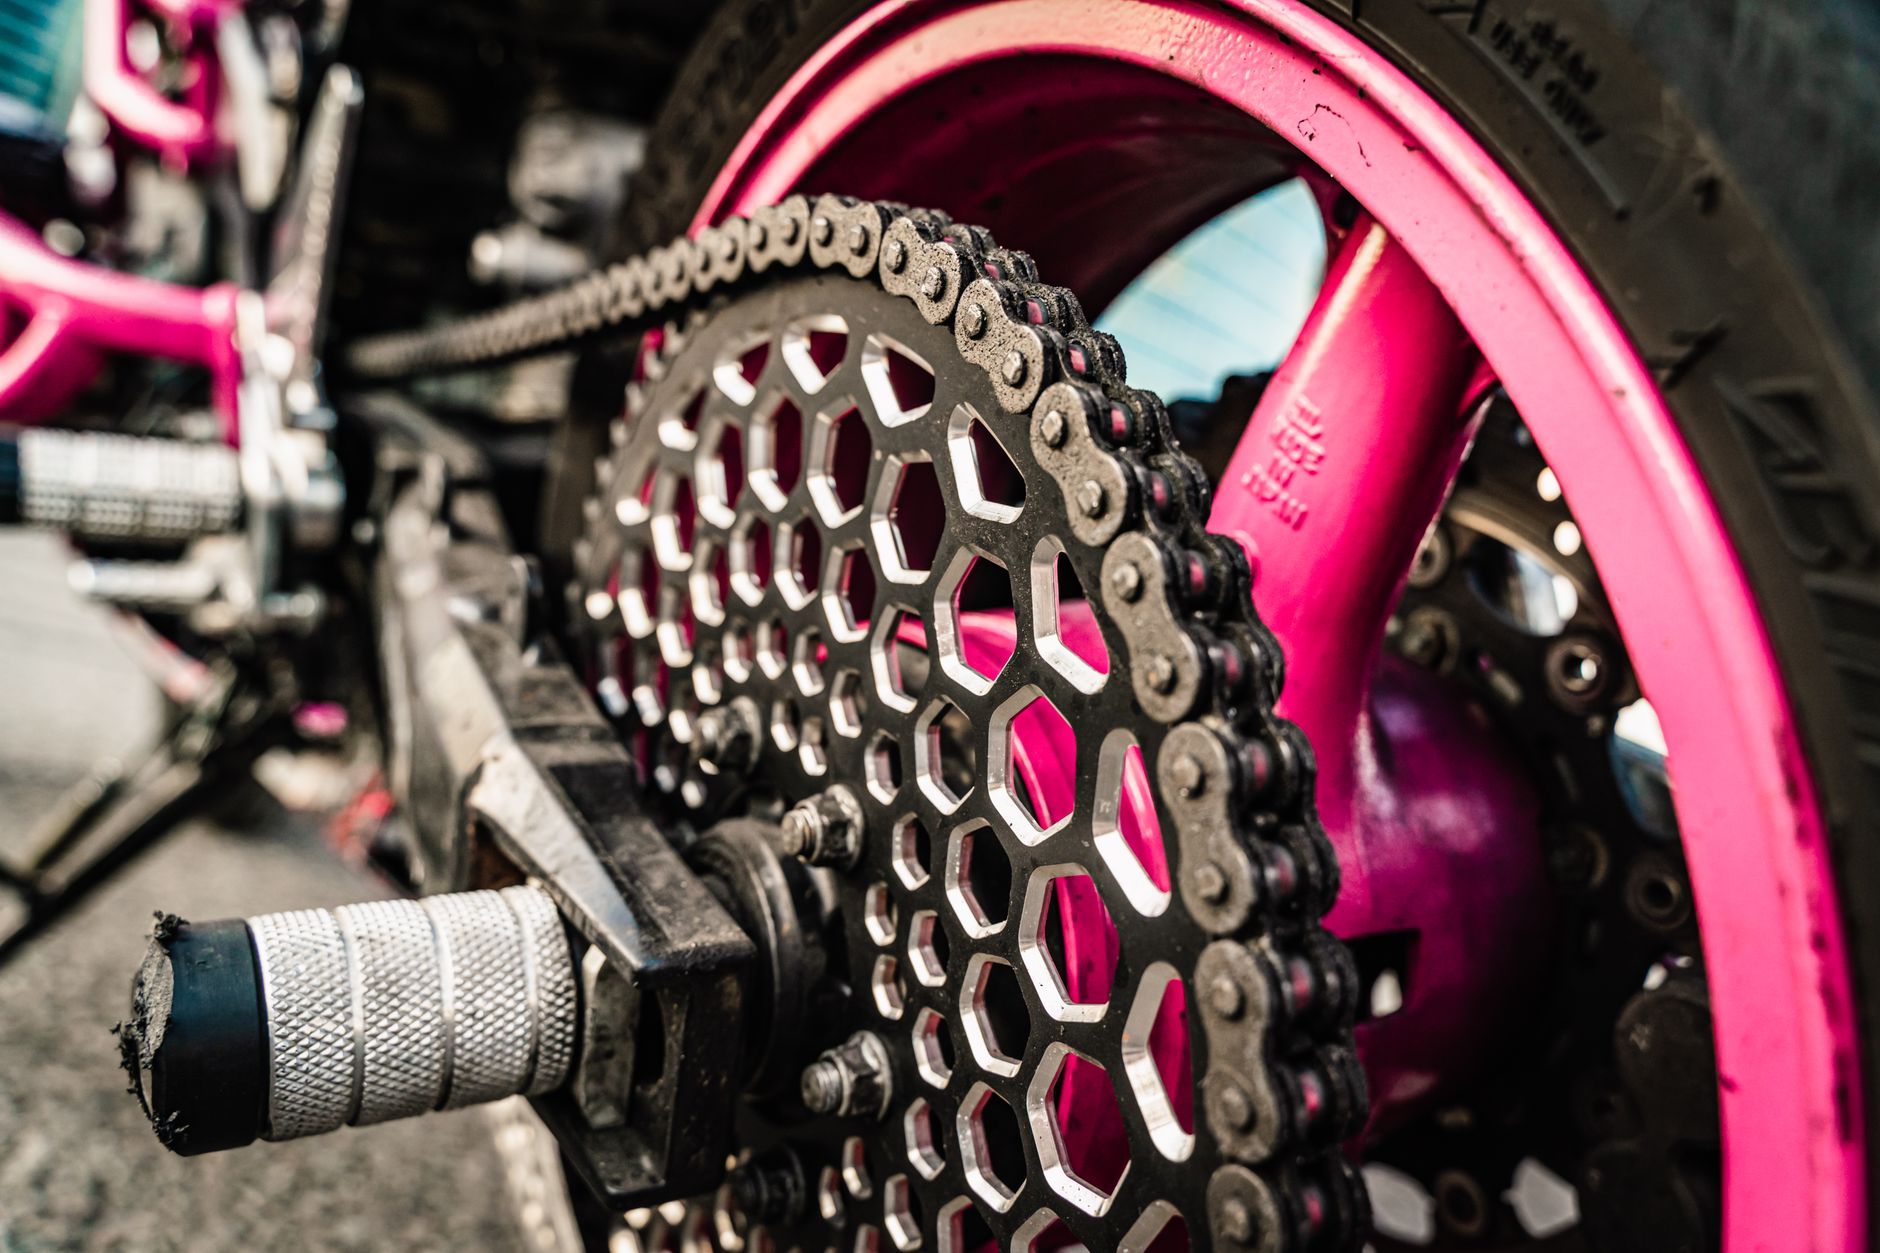
Motorcycle chain kit: selection, fitting and maintenance
M
Max
|5 minJanuary 28, 2026
Why the chain kit is critical
Chain drive transmits all engine power to the rear wheel. A worn kit means power loss, unstable handling, and a risk of failure. The chain kit (chain + front sprocket + rear sprocket) is always replaced as a complete set — never a single part alone.
Understanding dimensions: 520, 525, 530
The number indicates the chain dimensions:
First digit (5): chain pitch — 5/8 of an inch (15.875 mm) between each link
Last two digits: internal width between plates in eighths of an inch
In practice:
520: the lightest and narrowest. Stock on bikes up to 600 cc, or lightweight conversions on larger sportbikes
525: the standard for mid-size and large displacement bikes (600-900 cc). Good weight-to-strength balance
530: the heaviest and most robust. Large displacement bikes (1000+ cc), touring, heavy machines
Fitting a 520 on a bike delivered with a 530 is possible but reduces service life. It is a track-oriented choice. For road use, stick to the original dimension.
O-ring, X-ring, Z-ring: which seal type?
The seals between plates retain grease inside the links and prevent dirt from entering:
O-ring: classic round seal. Good protection, slightly higher friction. Most common in budget kits
X-ring: X-shaped seal (two contact lips instead of one). Less friction, better sealing, longer life. Best value for money
Z-ring: X-ring variant with an optimised profile. Similar performance to X-ring, sometimes better behaviour at high speed
Recommendation: for road use, an X-ring kit is the best choice. The price difference versus O-ring is small (10-20 EUR) and service life is significantly longer.
Counting the links
The number of links in your chain is specific to your model. You will find it in the workshop manual or on the original chain. Aftermarket kits often come with extra links — you will need to cut to length using a chain breaker.
Examples:
Yamaha MT-07: 104 links in 525
Honda CB500F: 108 links in 520
Kawasaki Z900: 114 links in 525
The fitting procedure
Tools needed:
Chain breaker/riveter tool (to cut the old chain and rivet the new one)
Alignment tool or straight edge
Torque wrench
Chain lubricant for the initial greasing
Steps:
Remove the old chain — use the chain breaker to push out a pin and open a link. With a clip-type master link, a flat screwdriver is enough
Inspect sprockets — hook-shaped teeth (pointed, asymmetric) mean they need replacing. This is why you change the complete kit
Fit the new front sprocket — torque to spec (often 50-80 Nm + lock bolt). Use thread-lock or the supplied tab washer
Fit the new rear sprocket — check that bolts are torqued to spec (often 25-40 Nm) in a star pattern
Thread the new chain — pass it around the front sprocket, the rear sprocket, and close it with the master link
Rivet the master link — this is the critical step. Use an appropriate riveting tool. The pin must be flared evenly without splitting. A bad rivet means chain failure while riding
Align the chain — use the marks engraved on the swingarm or a straight edge placed along the chain. Both sides must be symmetrical
Set the tension — standard free play is 25-35 mm at the lowest point, with the bike on its side stand. Check your manual for the exact value
Never over-tighten the chain. A chain that is too tight prematurely wears the sprockets AND the gearbox output shaft bearings. Slightly loose is better than too tight.
Initial lubrication and ongoing maintenance
After fitting, apply a generous coating of lubricant along the entire chain. Let it soak in for 10 minutes before riding. After that, lubricate the chain every 500-800 km or after any ride in the rain.
Lubricate the chain when warm (after riding) — heat opens the seals and the lubricant penetrates better
Apply on the inside face (sprocket side) — centrifugal force distributes the lube
Clean periodically with a dedicated chain cleaner — never use aggressive solvents (WD-40, white spirit) that attack the seals
Service life
A well-maintained chain kit lasts between 15,000 and 30,000 km depending on quality, riding style, and lubrication diligence. A neglected kit can fail at 8,000 km.
Try L'Atelier free for 10 days — find the exact chain specs for your motorcycle (dimension, link count, torque values) in seconds, no credit card required.
On utilise des cookies essentiels au fonctionnement. Avec ton accord, on ajoute la mesure d'audience et l'attribution de nos liens/sondages partenaires (ça finance le service). En savoir plus