Back
TutorialBike

Bike crankset: complete removal and installation

M
Max
5 minApril 18, 2026
Bike crankset: complete removal and installation

Why remove a crankset?

The crankset is the heart of the drivetrain. You remove it to replace the bottom bracket, swap a worn chainring, deep-clean, or diagnose a clicking noise. But each standard has its own method, and getting it wrong can be expensive.

The 4 main standards

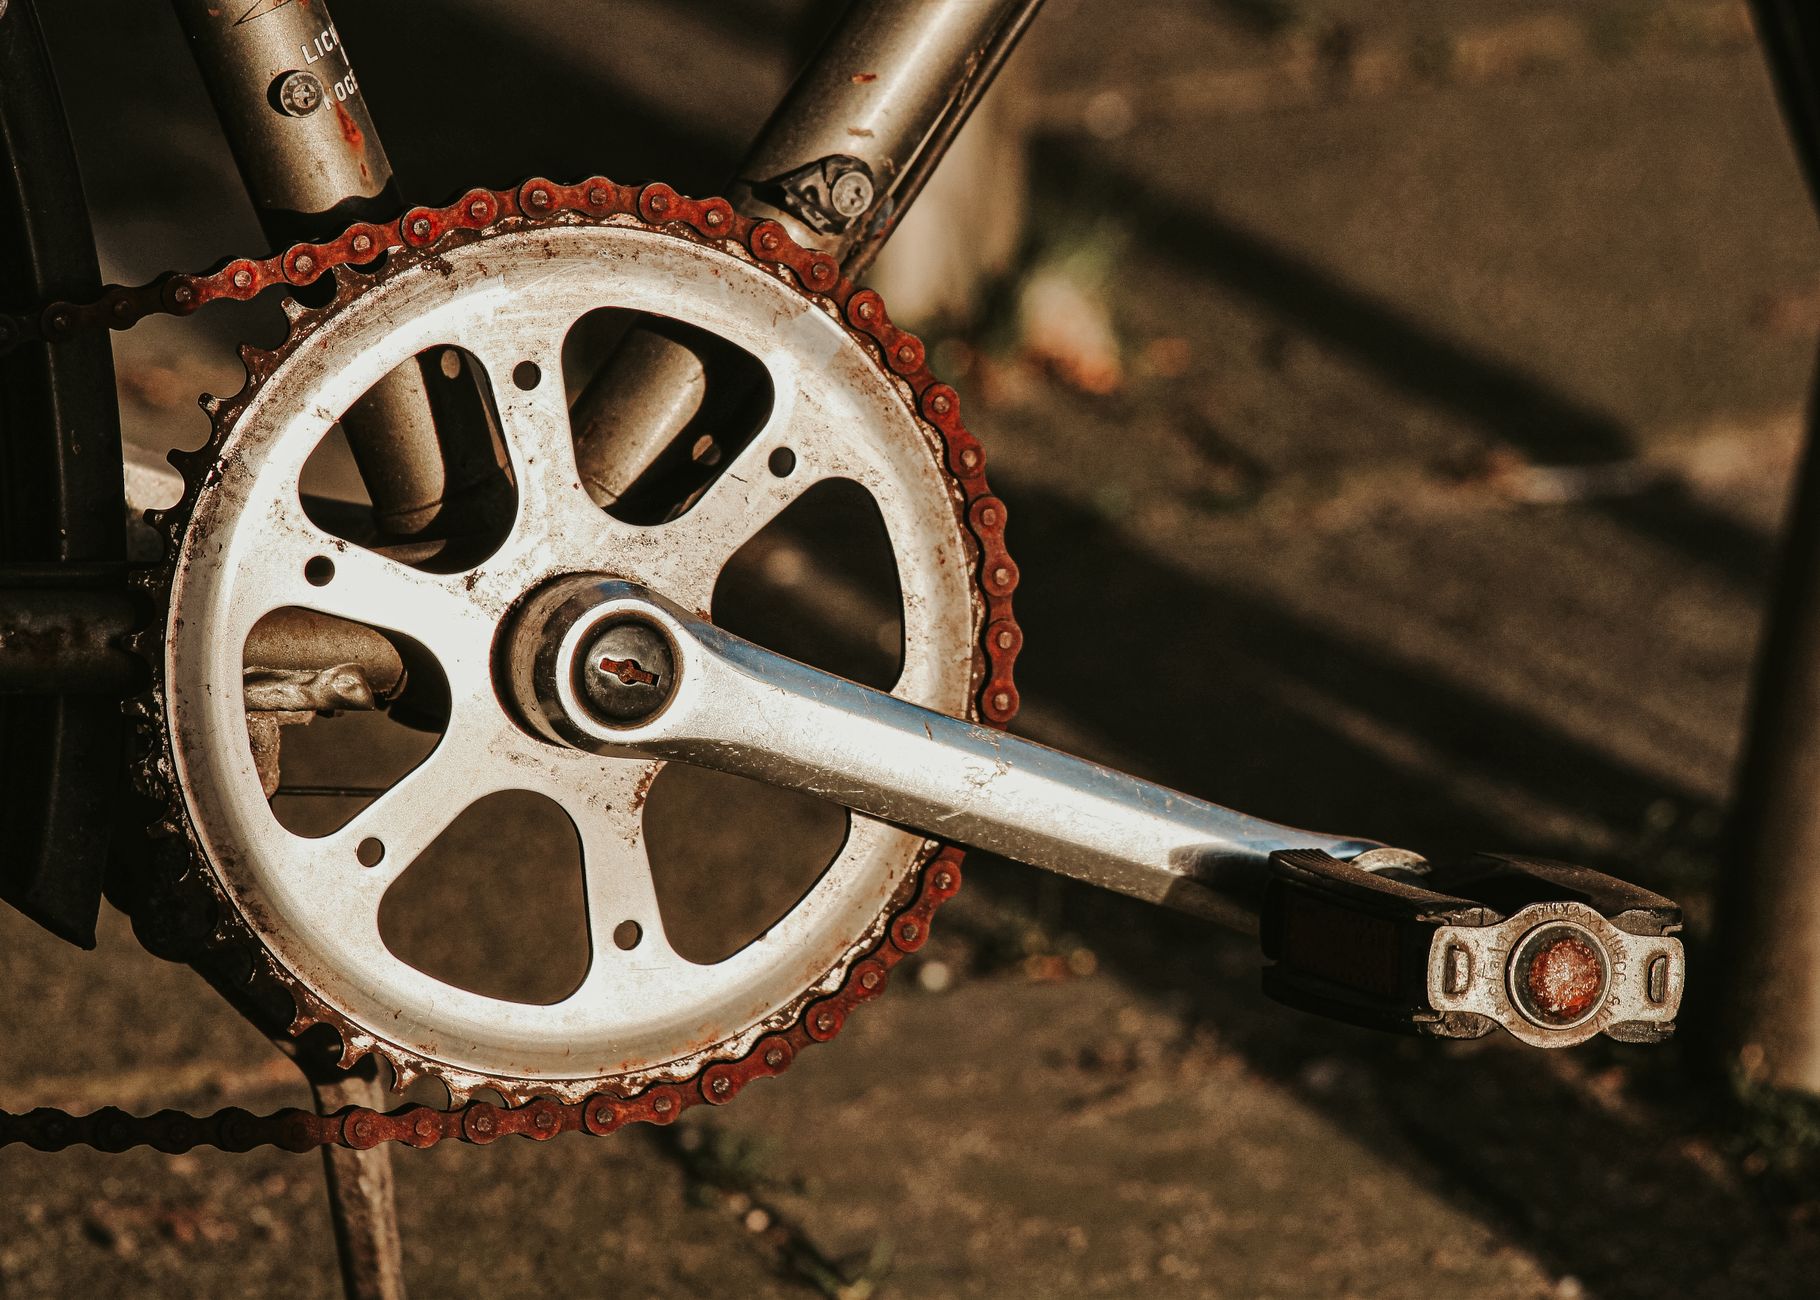
Square taper: the oldest design, still very common on entry and mid-range bikes. The bottom bracket axle has a tapered square cross-section. The crank arm is press-fitted on and secured with a centre bolt (14 mm or 8 mm Allen).

Shimano Hollowtech II: Shimano's standard since 2004. The axle is integrated into the right crank arm. The left arm is secured with two pinch bolts (clamp) and a preload cap.

SRAM DUB: 28.99 mm steel spindle, compatible with multiple bottom bracket standards (BSA, PF30, BB92, T47). Same principle as Hollowtech II: integrated axle on the right, clamp on the left.

SRAM/Truvativ GXP: DUB's predecessor. Stepped 24/22 mm spindle. Removal is identical to Hollowtech II but the preload tool differs.

Tools needed

  • Square taper: crank puller (Park Tool CWP-7 or CCP-22), 14 mm wrench or 8 mm Allen
  • Hollowtech II: preload cap tool (Shimano TL-FC16 or Park Tool BBT-10.2), 5 mm Allen
  • DUB: DUB preload tool (SRAM DUB-3), 8 mm Allen for spindle bolt
  • All types: torque wrench, grease, thread-lock (Loctite 243) for chainring bolts

Step-by-step removal — Hollowtech II

  1. Remove the preload cap: use the TL-FC16 tool, turn counter-clockwise. This cap only preloads the bearings — it doesn't clamp anything
  2. Loosen the two pinch bolts: 5 mm Allen, left side. Alternate between both bolts for even loosening
  3. Remove the left crank arm: pull it toward you. If it resists, gently tap with a plastic mallet
  4. Remove the right crank arm + axle: pull to the right. The whole assembly comes out as one unit with the chainrings
Tip: if the spindle is stuck in the bottom bracket shell, never use a metal hammer. A rubber mallet or a slide hammer is what you need.

Try the AI mechanic on your machine

Your exact answer in 10 seconds

Give us your model. We cross-check workshop manuals and answer, sourced.

Reinstallation — mistakes to avoid

  • Grease on the spindle: mandatory on BSA bottom brackets, not allowed on press-fit (unless the manufacturer specifies it). When in doubt, check the documentation
  • Pinch bolt torque: 12-14 Nm for Shimano, 12-14 Nm for SRAM DUB. Over-torqued = deformed clamp. Under-torqued = play and clicking
  • Preload: the preload cap is hand-tightened + 1/8 turn. Do NOT torque it with a wrench. Its only job is to eliminate axial play
  • Thread direction: the left pedal has a reverse thread (clockwise to remove). Don't confuse this with the crankset itself

Reference torque specs

ComponentTorque
Hollowtech II preload cap0.7-1.5 Nm (preload only)
Shimano left pinch bolts12-14 Nm
SRAM DUB left pinch bolts12-14 Nm
Chainring bolts (4-bolt)12-14 Nm
Direct Mount chainring bolt40-50 Nm (Shimano)
Square taper centre bolt35-50 Nm
Pedals35-40 Nm

Diagnosing bottom bracket noise

A clicking noise while pedalling rarely comes from the bottom bracket itself. Before tearing everything apart, check in this order:

  1. Pedals: re-tighten to 35 Nm
  2. Chainring bolts: check torque (12-14 Nm)
  3. Left pinch bolts: check torque
  4. Saddle / seatpost: grease the interface (a very common source of clicking transmitted to the crankset area)
  5. Bottom bracket: as a last resort, remove and inspect bearings

On L'Atelier, you can ask for the exact torque spec for your crankset model and frame standard. The assistant finds the value in the technical documentation within seconds.

Try the AI mechanic on your machine

Your exact answer in 10 seconds

Give us your model. We cross-check workshop manuals and answer, sourced.