
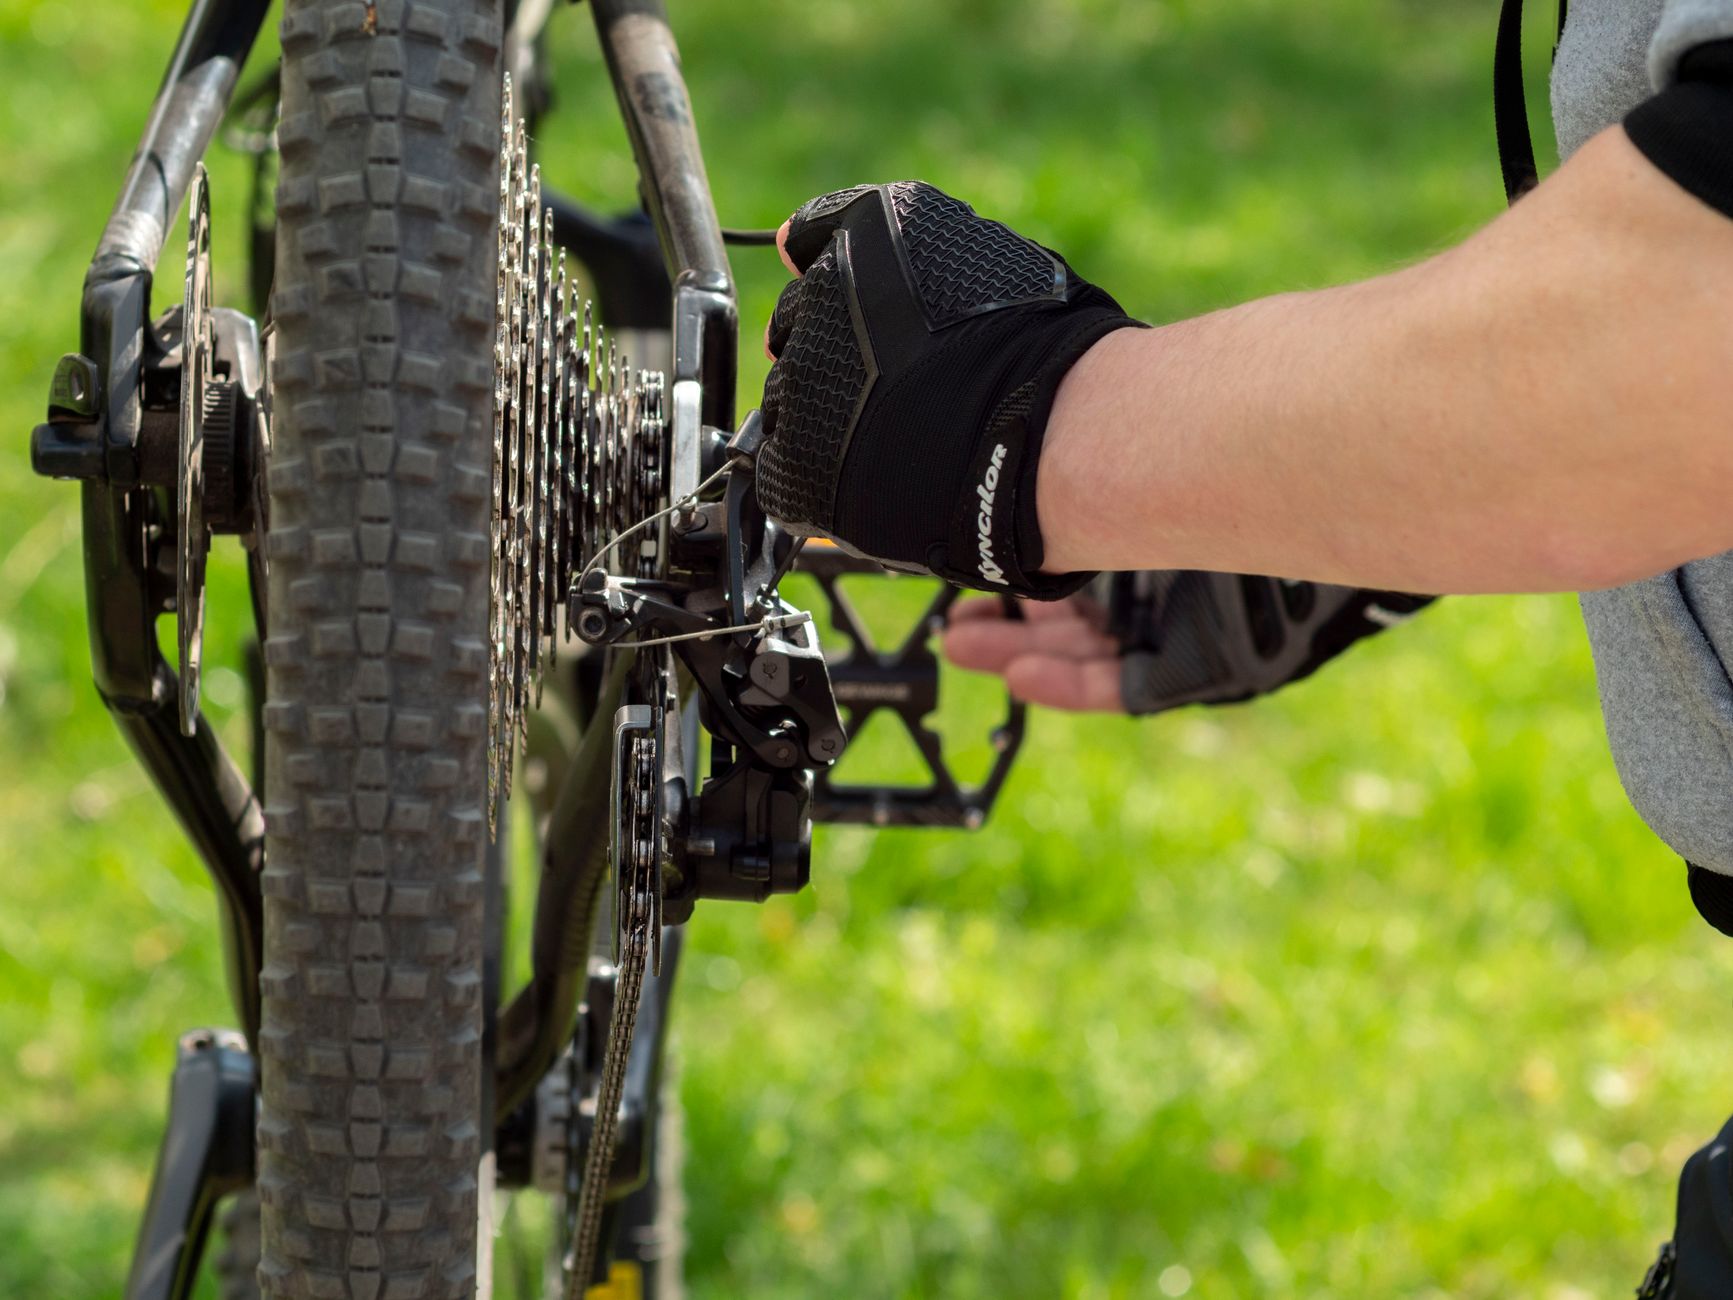
Before touching the screws: diagnosis
Before you start adjusting, check these three points. In 50% of cases, the problem comes from here, not from the derailleur itself.
- Is the derailleur hanger straight? A bent hanger throws off the entire adjustment. Look at the derailleur from behind: the jockey wheels must be perfectly aligned vertically with the cogs. If they are not, straighten or replace the hanger.
- Is the cable in good condition? A frayed, rusty cable or a cracked housing will never transmit tension correctly. When in doubt, replace both cable and housing.
- Is the chain worn? A chain stretched beyond 0.75% will skip on the cogs, even with a perfectly adjusted derailleur. Check with a wear indicator tool (see our article on chain wear).
Step 1 — Set the low limit screw (L)
The L screw (Low) limits the derailleur travel towards the largest cog (easiest gear).
- Shift to the largest rear cog and the smallest front chainring
- Look at the jockey wheels from behind: they must be perfectly aligned under the largest cog
- If the derailleur cannot reach the largest cog, loosen the L screw (counter-clockwise)
- If it overshoots and risks dropping into the spokes, tighten the L screw (clockwise)
Safety: an L limit that is too open can send the chain into the spokes. This kind of mistake can destroy a wheel and cause a serious crash.
Step 2 — Set the high limit screw (H)
The H screw (High) limits the derailleur travel towards the smallest cog (hardest gear).
- Shift to the smallest rear cog and the largest front chainring
- The jockey wheels must be aligned under the smallest cog
- Same logic: loosen if the derailleur does not reach it, tighten if it overshoots
Step 3 — Set the B-gap (B screw)
The B-gap is the distance between the upper guide pulley and the cog teeth. It is an often-forgotten adjustment, but it is crucial for shift quality.
- Shift to the largest rear cog
- Measure the distance between the top of the guide pulley and the bottom of the cog teeth
- The target: 5 to 6 mm (varies by derailleur — check the manual)
- Tighten the B screw to move the pulley away from the cog, loosen to bring it closer
A B-gap that is too small causes noise and rubbing. A B-gap that is too large makes shifts slow and imprecise, especially when climbing to larger cogs.


