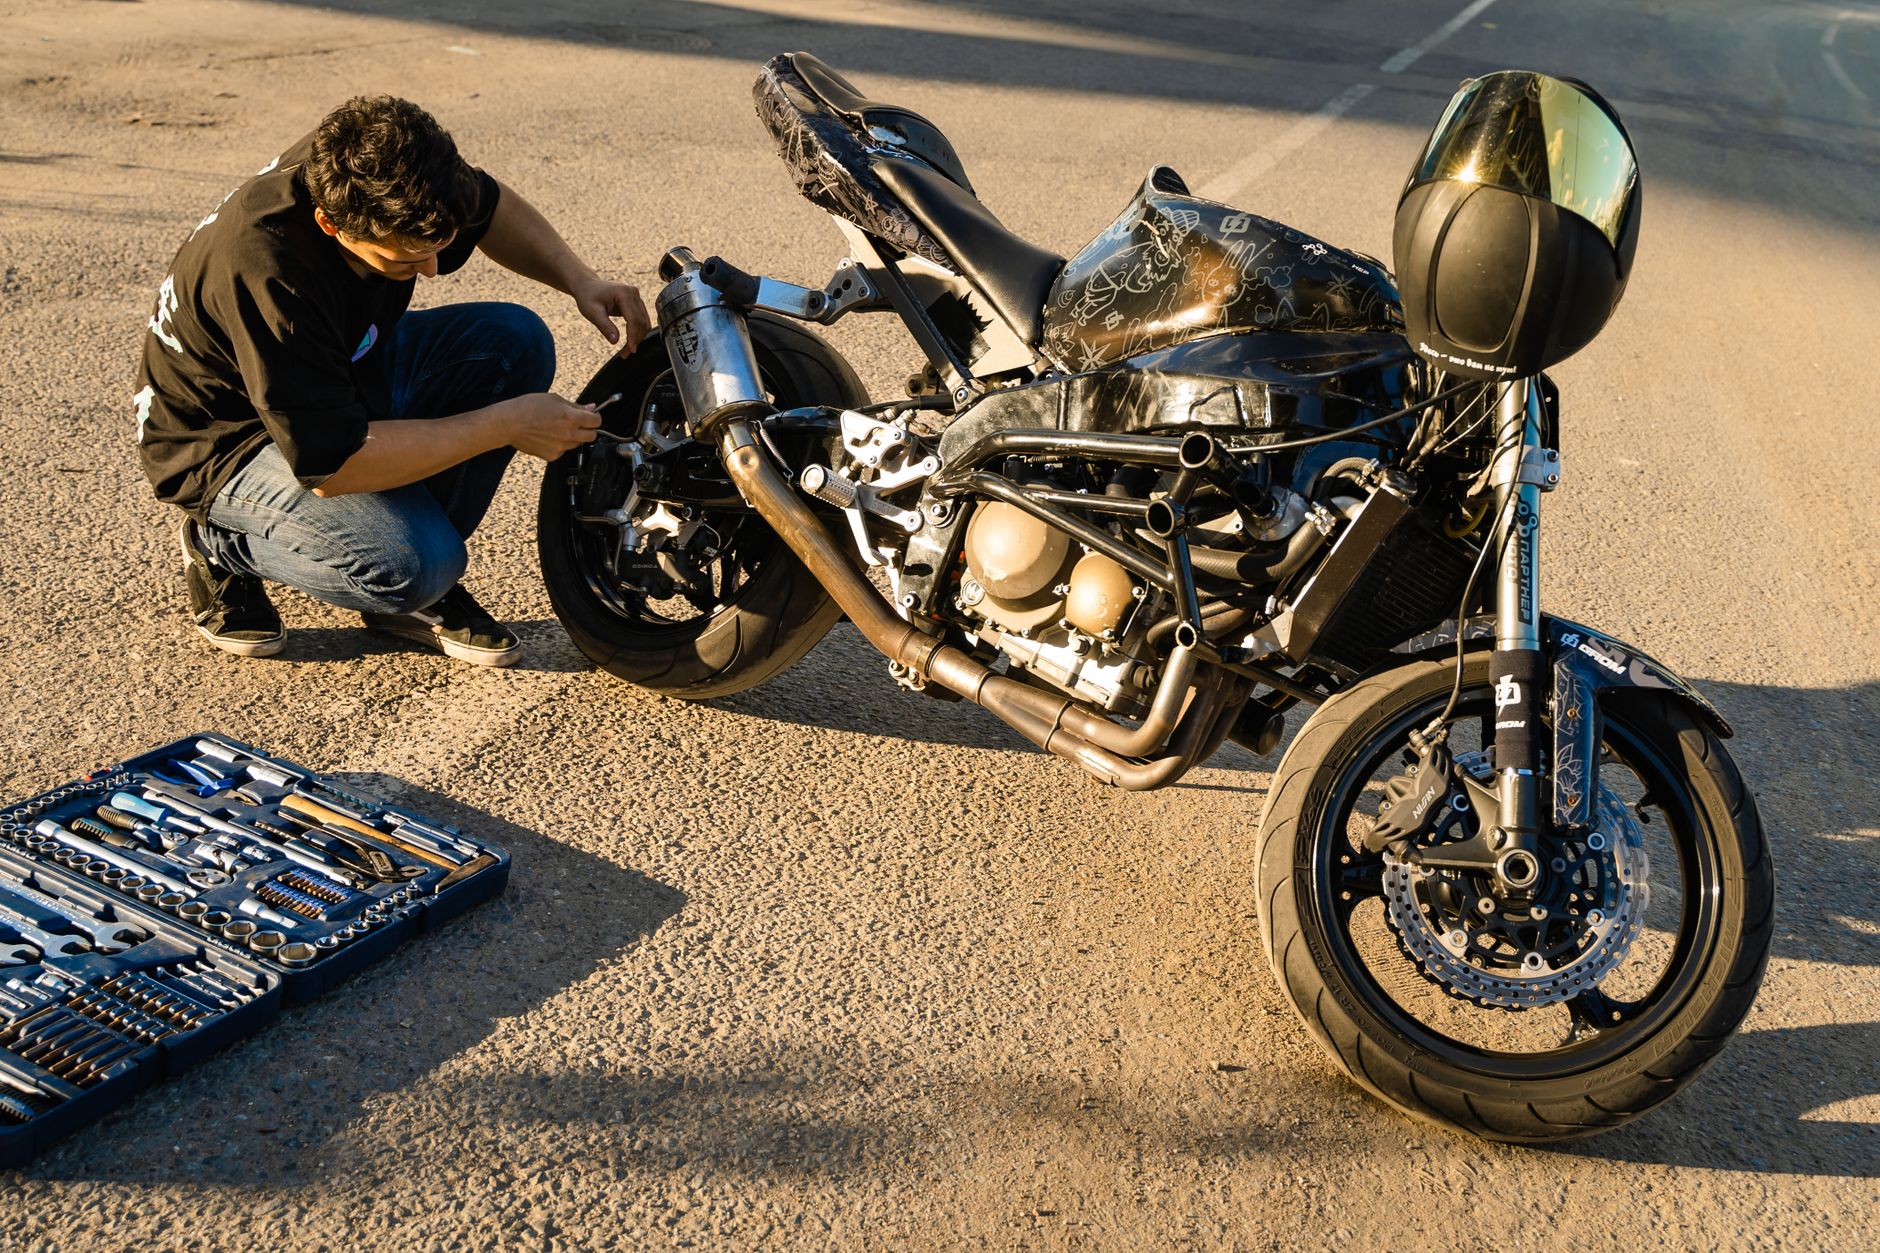
Why You Should Set Up Your Suspension
A poorly set suspension ruins any motorcycle's handling. Too stiff, it bounces off imperfections and loses grip. Too soft, it dives under braking and bottoms out over bumps. The factory setting is a compromise for a 75 kg rider — if you're lighter, heavier, or riding two-up, you need to adjust.
The three fundamental parameters are preload, rebound (extension damping), and compression. Preload sets the static sag. Rebound controls the return speed. Compression controls the resistance to compression.
Step 1 — Measure the SAG
SAG (static sag) is the foundation of every suspension setup. Without correct SAG, rebound and compression adjustments are meaningless.
Method Using a Tape Measure and Zip Tie
- Place a zip tie (cable tie) on the shock shaft or fork stanchion
- Static SAG (no rider): push the zip tie down against the seal, then lift the rear of the bike and let it settle gently. Measure the distance between the zip tie and the seal — this is the sag under the bike's weight alone. Aim for 5–10% of total travel.
- Rider SAG: sit on the bike in normal riding position, fully geared up. Have a friend push the zip tie down. Aim for 25–30% of total travel at the rear and 25–33% at the front.
Example: if your shock has 120 mm of travel, rider SAG should be between 30 and 36 mm.
If SAG Is Incorrect
- Too much sag (SAG > 30%) — increase preload
- Not enough sag (SAG < 25%) — decrease preload
- If preload is maxed out and SAG is still too much, the spring is too soft for your weight. You need a stiffer spring, not more preload.
Step 2 — Set Preload
Rear Shock
Most shocks have a stepped collar adjustable with a C-spanner (hook wrench). Turn clockwise to increase preload (less SAG), counter-clockwise to decrease.
On some sport bikes, it's a hand-wheel or hydraulic remote adjuster. Check your manual to identify the system.
Front Forks
- Conventional forks: preload is often adjusted via a hex bolt on top of the tube. One full turn equals a few millimetres of preload.
- Inverted (USD) forks: same principle, but the adjuster may be at the bottom of the outer tube or the top, depending on the brand (Showa, KYB, WP).
Step 3 — Set Rebound
Rebound controls how fast the suspension extends after being compressed. Too fast and the bike bounces uncontrollably. Too slow and the suspension "packs down" over successive bumps, sitting lower and lower.
- Locate the rebound adjuster — usually at the bottom of the shock (red or gold knob) and on top of the fork tube
- Start from fully open (adjuster backed all the way out, counting clicks)
- Tighten by one third of the total click range
- Test: push down hard on the seat and release. The bike should return in one smooth motion without bouncing
Quick test: if the bike bounces several times, you have too little rebound damping. If it rises very slowly and stays low, you have too much.