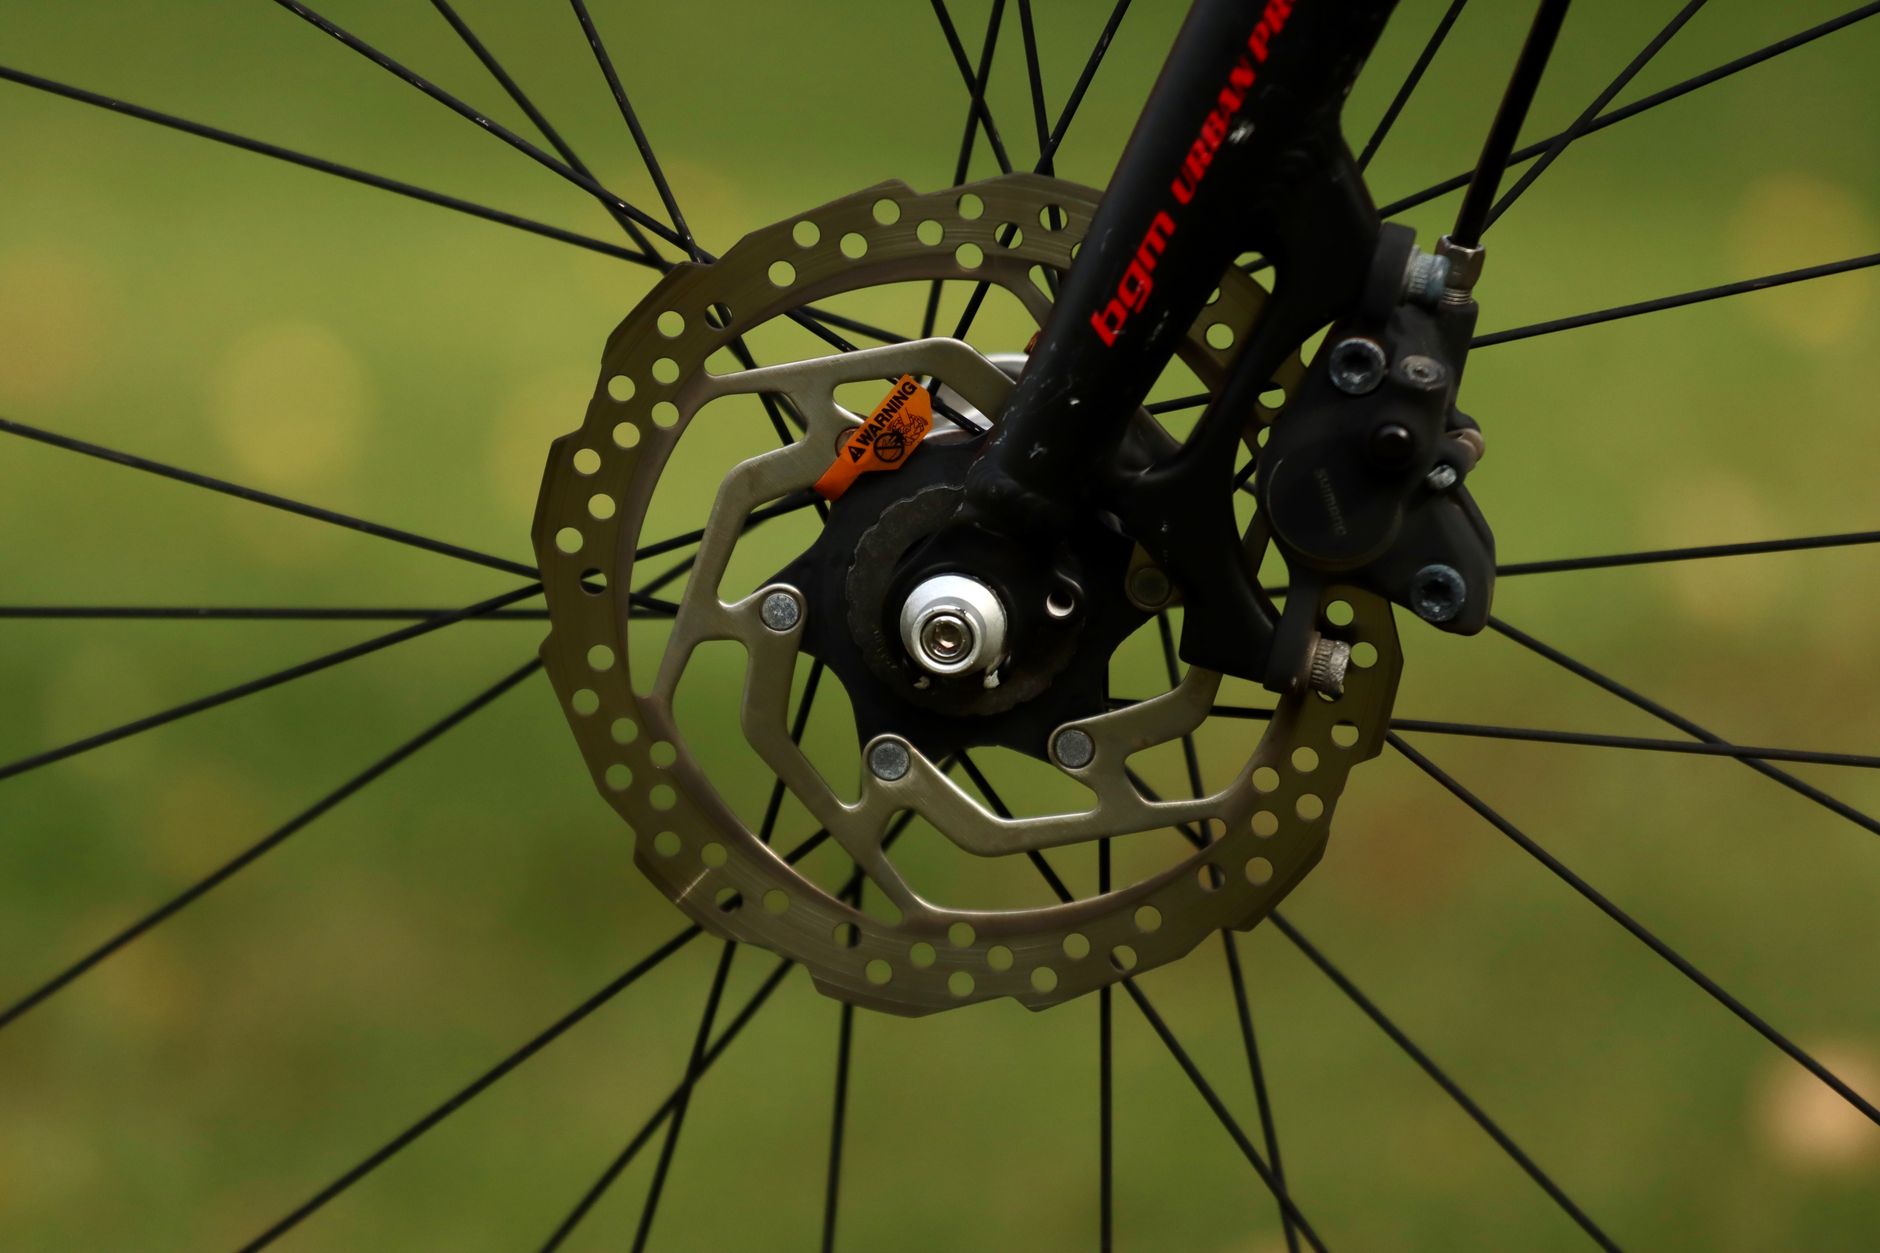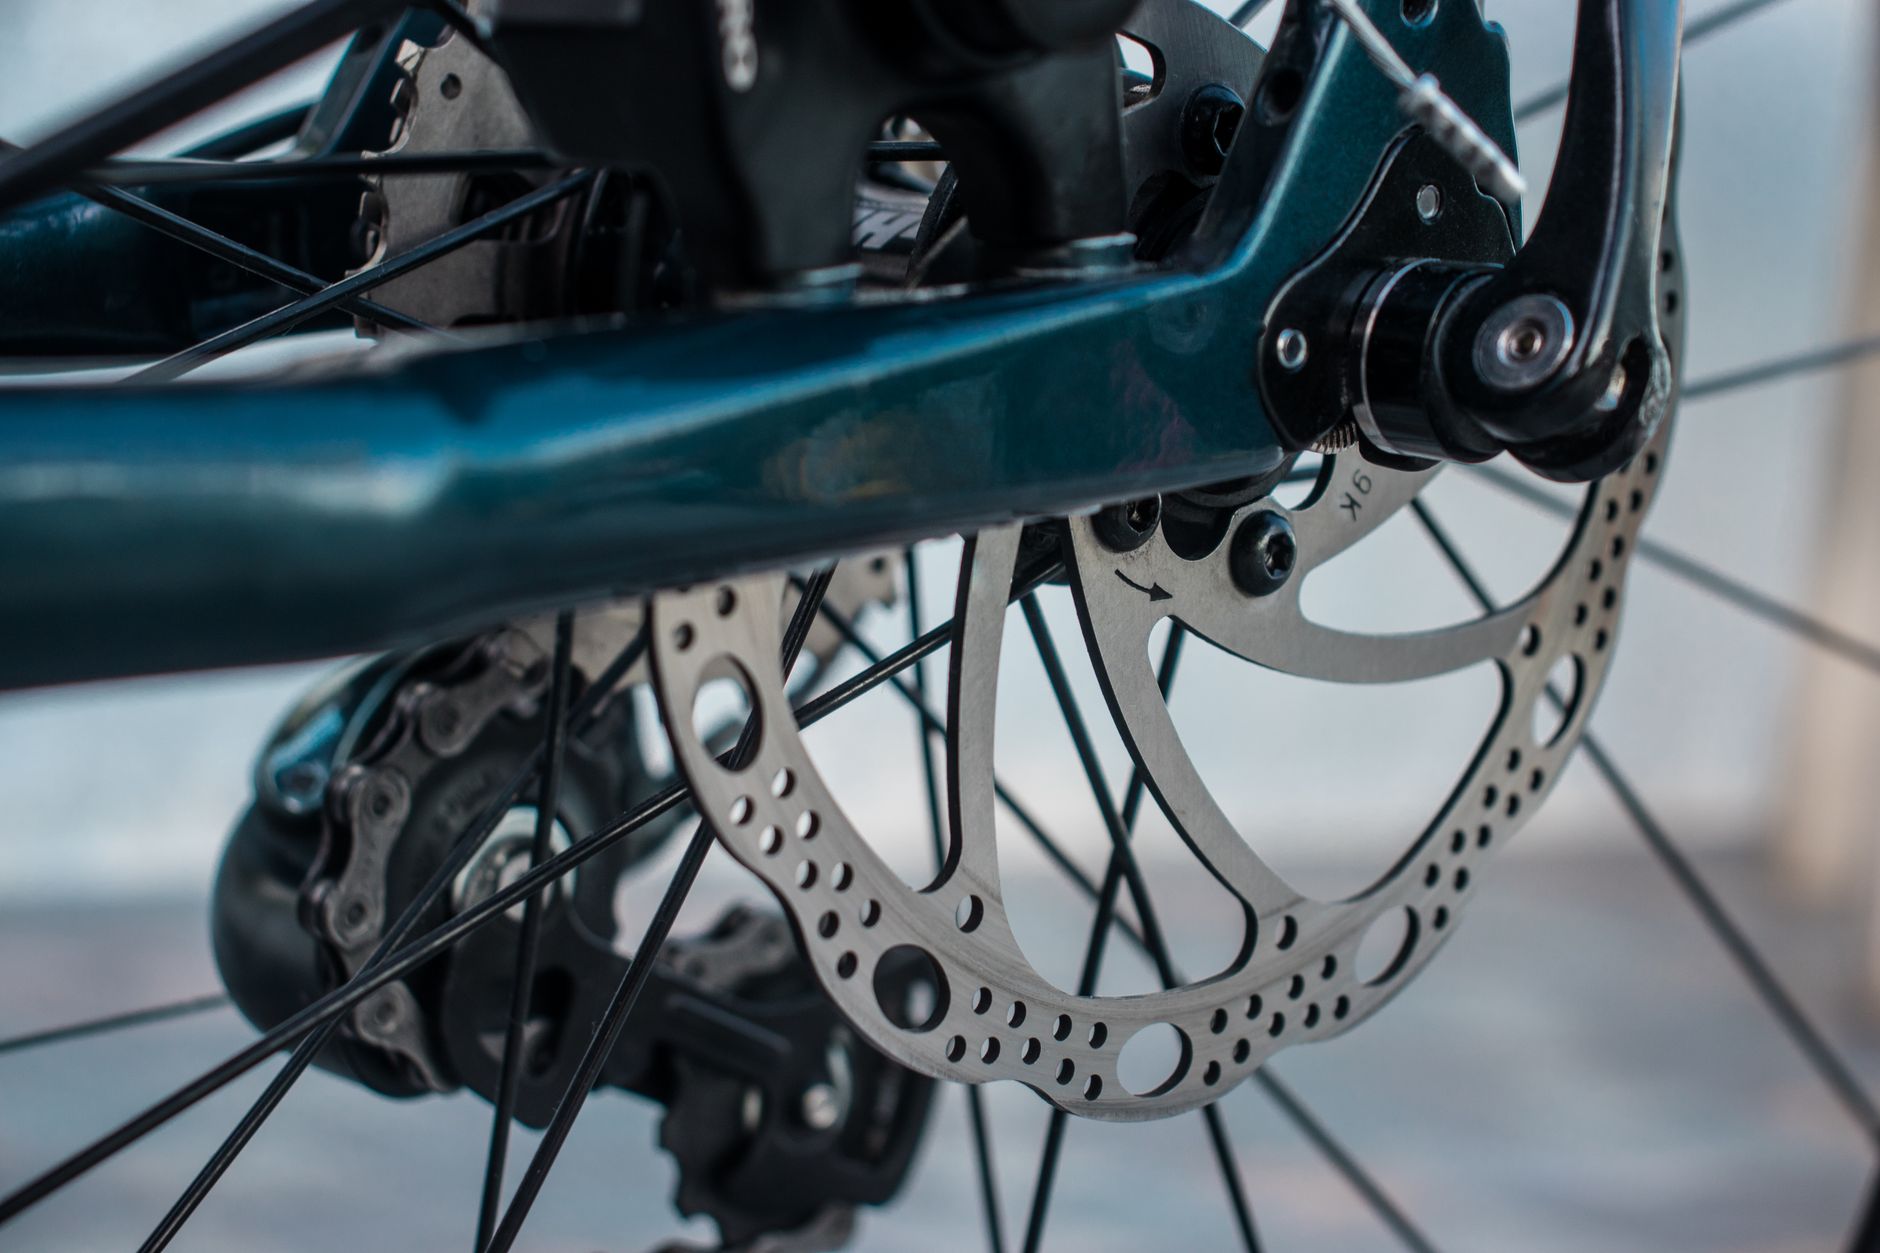
Why mechanical disc?
A mechanical disc brake uses a cable (like a V-brake) to actuate a caliper that clamps a disc. It is simpler than a hydraulic system: no brake fluid, no bleeding, no hoses. In return, the power is slightly lower and modulation is less refined.
You find it on entry-level gravel bikes, hybrid bikes, touring bikes, and some mountain bikes. The reference models: TRP Spyre (dual-piston mechanical — the best on the market), Avid BB7 (micro-adjustable), Shimano BR-M375 (basic but reliable).
Caliper centering
A misaligned caliper rubs. The disc touches one pad continuously, which brakes, wears the pads, and makes noise.
Visual method
- Loosen the 2 mounting bolts on the caliper (5 mm Allen) — just enough so the caliper can slide laterally
- Squeeze the brake lever fully and hold it (with a zip tie or elastic band)
- Tighten the mounting bolts alternating: 1/4 turn on the left, 1/4 turn on the right, and so on up to 6-8 Nm
- Release the lever and spin the wheel. The disc should no longer rub
Advanced method (by eye)
If the above method is not enough (bent adapters, poorly machined frame):
- Remove the wheel
- Loosen the caliper bolts
- Insert a business card between the disc and the inner pad (fixed side)
- Insert a second card between the disc and the outer pad (moving side)
- Reinstall the wheel and tighten the caliper bolts to 6-8 Nm
- Remove the cards. The gap should be equal on both sides
Cable tension adjustment
Too loose = no braking. Too tight = the pad rubs constantly.
- Loosen the cable anchor bolt on the caliper
- Pull the cable by hand to tension it
- Tighten the cable bolt to 5-6 Nm
- Check: lever travel should be about 1/3 of total travel before the brake bites. Fine-tune with the barrel adjuster on the lever
Tip for TRP Spyre / Avid BB7: these models have adjustment dials on the caliper in addition to the lever barrel adjuster. This allows much finer tuning. Turn 1/4 turn at a time.